Configure an Event Subscription
Subscriptions allow a user to define a list of events they want to receive and where these events need to be sent.
Note: A specific subscription should be defined for every integration need. For privacy purposes, only select the fields and events relevant to this integration.
Before You Begin: Your user role must have Event Subscription enabled under HCM Anywhere > Event Driven Services in the Features tab of System Admin > Roles.
Create a subscription
In Dayforce: Navigate to HCM Anywhere > Event Driven Services > Event Subscription.
Click Add
General tab
Provide a Name and reference code (XRefCode). The reference code identifies the subscription and is part of events received.
Subscriptions tab
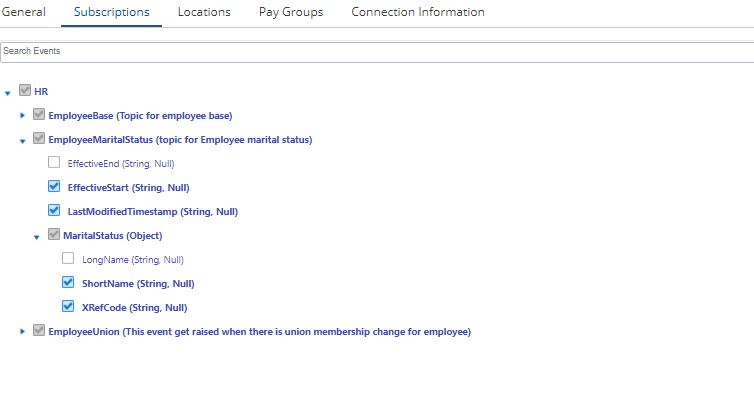
To subscribe to an event, select the fields you want to be sent with this event. This selection allows you to control the data that is received by your system.
Locations tab (optional)
Apply a location filter to only receive events that originate from the selected Locations. If you want to receive events for the whole organization, leave the list empty.
Event Services synchronizes organization hierarchy with Dayforce every 10 minutes. If you use the location filter and create or move an organizational unit, events attached to this org will be filtered during the first 10 minutes after the org update.
Pay Groups tab (optional)
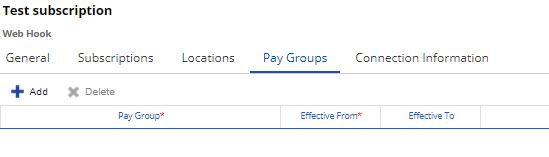
Apply the pay group filter to only receive events that originate from employees and pay runs attached to the selected Pay Groups. If you want to receive events for the whole organization, leave the list empty.
Connection Information tab
Webhooks are endpoints that are set up by the event consumer to receive events (Define a Webhook). Event services can connect to your Webhook using basic or token based authentication.
Basic authentication Webhooks
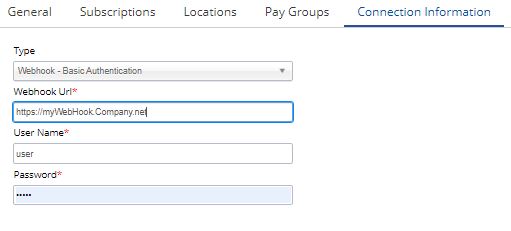
- In Type: chose the Webhook - Basic Authentication option
- Enter the URL of the Web hook endpoint you set up to receive events.
- Enter user name and password to authenticate on the target endpoint.
Token based authentication
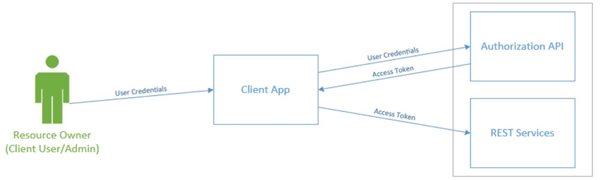
In this model, Dayforce event services will first contact your OAuth server to retrieve a token using the configured Client Id and Client Secret and will use this token to authenticate on the Webhook.
- In Type: chose the Webhook - OAuth Client Credentials option
- Enter the url of the Web hook endpoint you set up to receive events.
- Enter your Oauth Server URL
- Enter the client id and password to authenticate on the OAuth Server Url
- Enter the scopes needed in the token for Dayforce event services to be allowed to post events on the Web hook. If you are using several scopes, separate the scopes with a space.